Just Call Me Martha Stewart's Trashtacular Niece
- Christy

- Dec 22, 2020
- 4 min read
A beginner's guide to mastering the art of bougie gift wrapping

Every November, I magically transform from a frumpy, sarcastic participation trophy wife into royalty. Yes, every November, I become The Queen of Christmas.
I'd like to say this title was bestowed upon me for my spot-on Buddy the Elf impression because really, the best way to spread Christmas cheer is by singing loud for all to hear.
Or could it be that Her Royal Highness is a decorating magician? I mean, I did practically transform my house into the North Pole by putting up eight, yes, EIGHT Christmas trees this year.
But alas gentle readers, there is one area where I truly could win a Christmas Olympic gold medal despite absolutely no talent whatsoever.
I am a gift wrapping machine. And I'm here to teach you the insanely easy skills I've mastered over the last 30+ years.
Wait, did she just say she's been wrapping gifts for 30+ years?
I am impatient and hate surprises. I really love reading movie spoilers and I feel it's best to meet life's issues head-on. These are clever ways of explaining that as a child, I was known for unwrapping my own gifts to lovingly gaze on them before wrapping them back perfectly like a tiny, adorable sociopath. Imagine a determined Leslie Knope with unlimited crafting ability and way too much time on her hands. Come to think of it, my dad is a lot like Ron Swanson. Hmm.
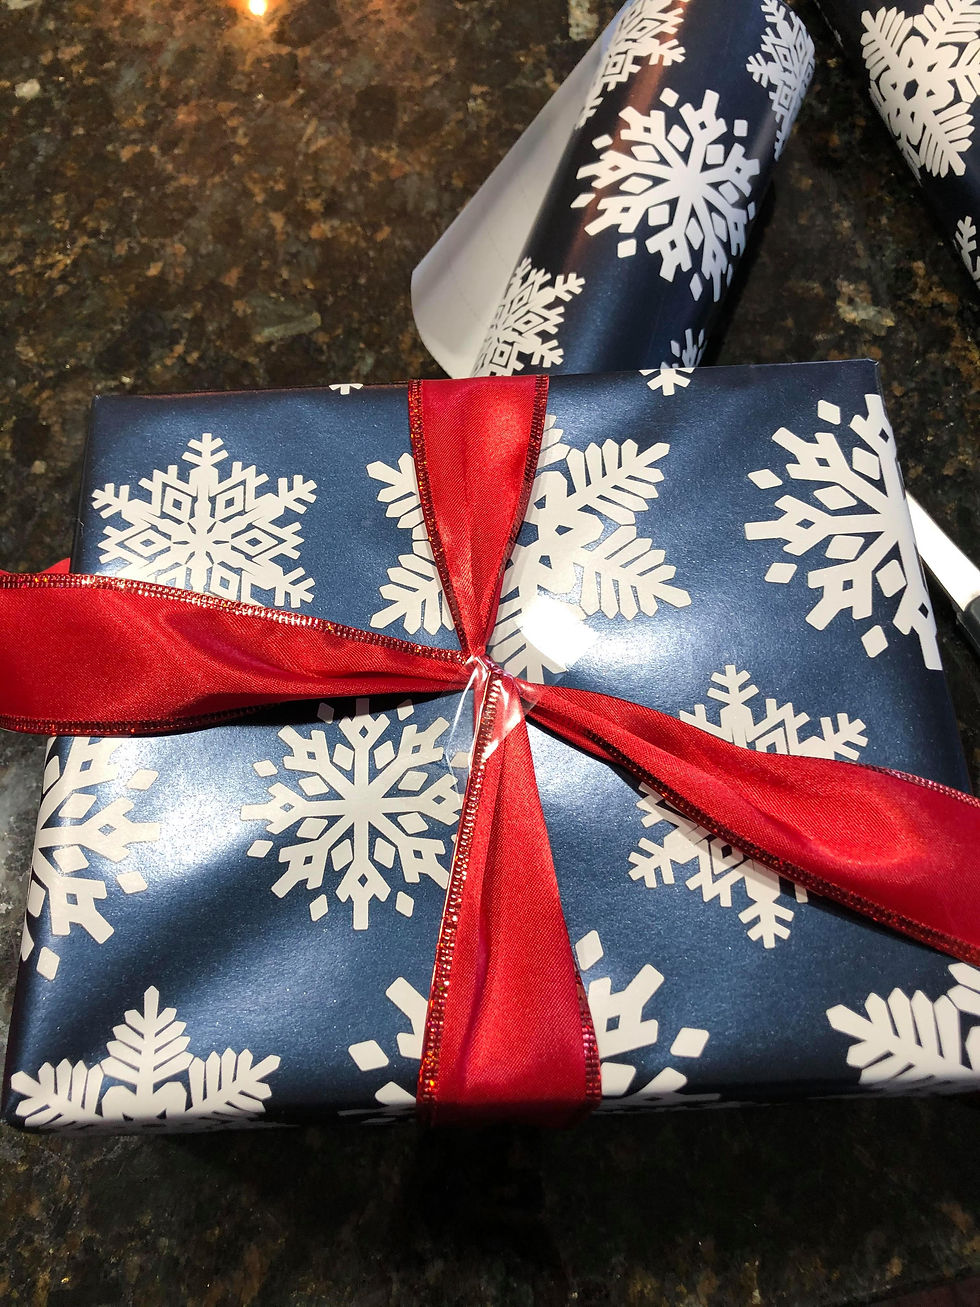
A few years ago, I upped my game by mastering the art of bow making, and let me tell you, even a last-minute gift from Walgreens can look like it's from Neiman Marcus with a little help from your new best friend - Mr. Wire Ribbon. So long as the recipient is unaware that Neiman Marcus does not have one of those "As Seen on TV" section.
Wire ribbon is honestly the most underrated part of Christmas. Want to spruce up your boring tree? Wire ribbon. Want to breathe new life into a tired old garland? Wire ribbon. But gifts? Oh trust me, this is where wire ribbon is going to change your life.

Before we begin, a few thoughts on wrapping. Good wrapping paper is essential. I prefer the paper preprinted with grids because despite what you may be thinking about my bougie ways, I positively cannot cut a straight line. I know, the illusion is shattered, isn't it?
So, let's get down to business. I hate those blogs that give you a step by step but first, you have to read through an existential crisis brought on by the moment they discovered Santa wasn't real. Spoiler alert: neither is the perfect wire ribbon bow.
Before you begin, understand that not all wire ribbon is created equal. Consider length and width before you pick up a spool. Typically, I ransack craft stores the week of Christmas because bargain shoppers will absolutely decimate any existing stock five minutes after stores reopen the day after Christmas. Essentially, I am buying for next year, and I usually stick with the classics: red, gold, and silver. Lately, I've been into plaid, which really makes a statement on any gift.
What I look for: wire ribbon about 1 1/2 inch wide and plenty of it. My favorite is the 125 foot spool. Some printed wire ribbon will have a face and a back which will be slightly duller. We'll get to that in a moment. Ribbon wider? It'll be fine, it's just a little harder to work with. Ribbon spool short? I pray you get enough to make one bow. Fingers crossed. For price, you can't beat the big spools.
Step 1: Lay out your gift and cut a strip long enough to tie a bow like a shoe lace. Don't worry, you cannot screw this part up.

Step 2: Cut your ribbon and tie it in a simple knot, securing it with a small piece of tape so it doesn't slide around while you're working.

Step 3: Fold over a piece of the ribbon and lay it next to the gift diagionally. This will give you a visual as to how large the bow will be in it's final form. Want it smaller? Just adjust the length.

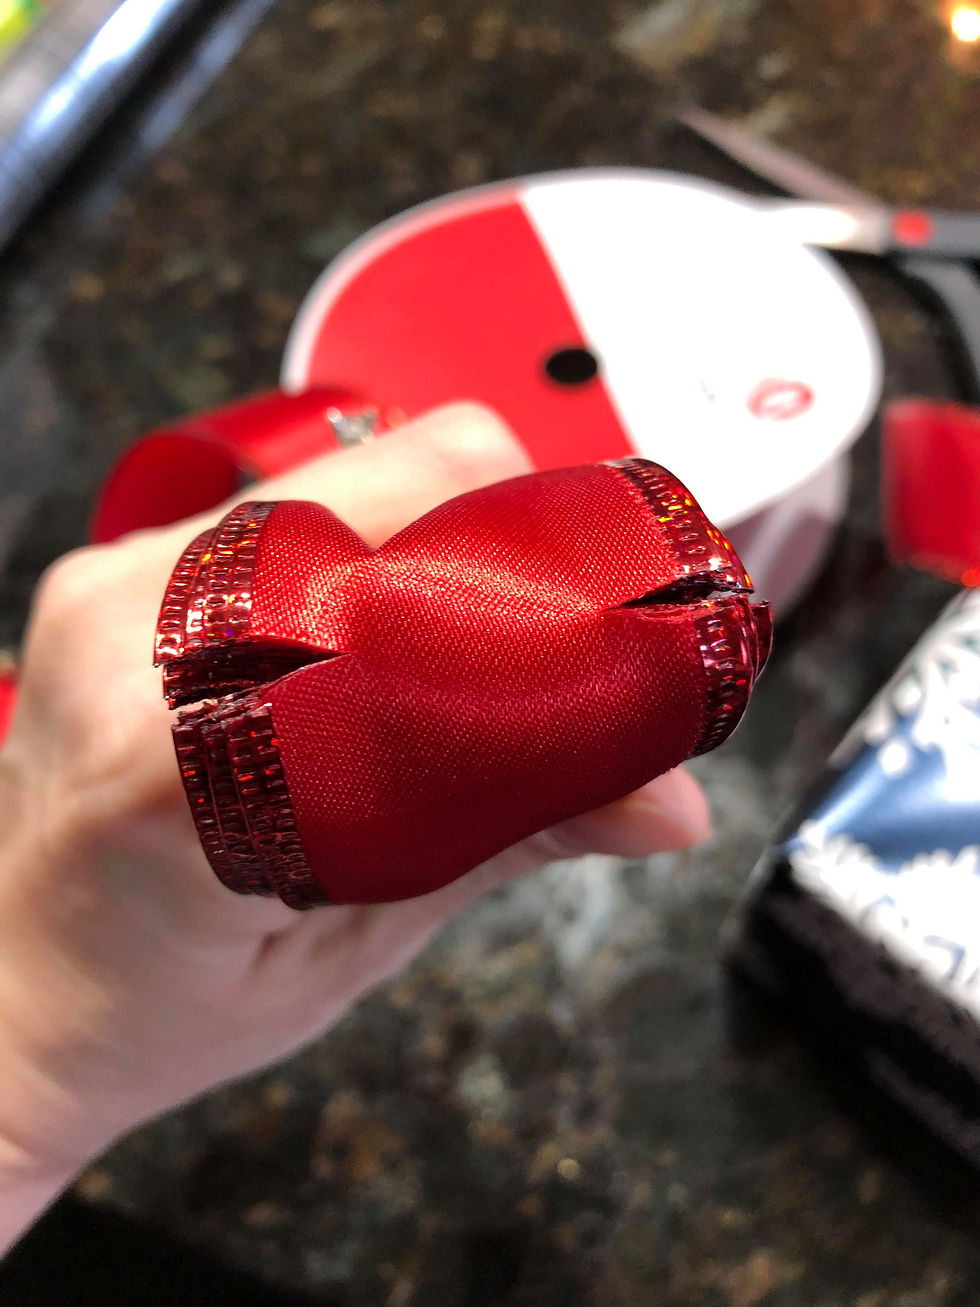
Step 4: Begin folding the ribbon in back and forth stacks. How many stacks do I make? Typically six or seven. The more stacks, the thicker the bow.
Step 5: Fold the stacks in half and with scissors, make a small cut in the middle on both sides. This gives your bow a little more wiggle as you're arranging it.

Step 6: Lay your stacks on top of the knot and cinch it again.

Step 7: Begin arranging your bow!

Step 8: The dreaded flat side. If you can, look for ribbon without a flat side and buy it in bulk! But if a ribbon has a flat side, it's not the end of the world. It's pretty simple, just fold it inside out.
Step 9: Trim your shoe laces. My personal favorite is to create a bougie edge, but hey, you do you.

Step 10: Fill in any holes you see. Honestly, you could spend 20 minutes rearranging a bow before you give up and realize it was perfect 19 minutes ago. But hey, that's showbiz, kid. Or would it be that's bowbiz, kid? *rimshot* Yeah, definitely funnier in my head.

So there you go. How to make a fabulous bougie wire ribbon bow in 10 simple steps. Will it look amazing the first time you make it? Yes. Because you made it. With love. Yay!
Every year I think I should open up a little boutique gift wrapping business, and every year by December 20, I'm like thank goodness I'm a procrastinator because I would hate my life right now.
Now you know the magic, get busy wrapping.
Merry Christmas and Happy Holidays to you and those you cherish dearly!
Thanks for reading!
~ Christy


Comments